Jim's Woodworking Shop
Wooden Puzzle Assembly Page
Click on pix for a larger view
It is very hard to try and hold the puzzle to assemble it.
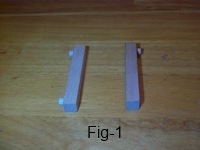
The easiest way is to place 2 pieces down and use them for a base. (Fig 1) They will not be put into the puzzle until last, so be sure the piece with only one peg in it is one of them. Have the pegs in the base pointing out to the sides so they are out of the way.
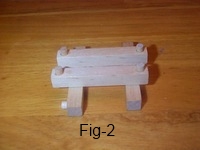 Lay down 2 pieces with the pegs up across the base. (Fig-2)
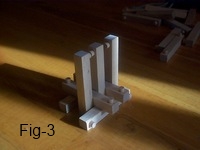 Then, stand 3 pieces on end. (Fig-3)
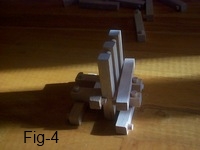 Add pieces to the left and the right with the pins facing each other. (Fig-4)
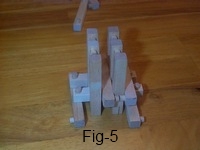 Stand 3 more pieces with the pegs facing the other 3. (Fig-5)
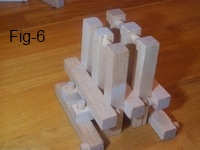 Add 1 piece on the left with the pegs facing in. Fig-6)
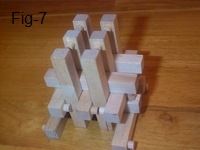 Add 2 pieces with the pegs facing down. (Fig-7)
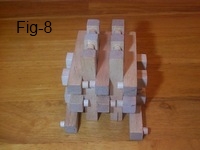 Add 3 pieces with the pegs facing each other. (Fig-8) Note: I have the pegs reversed in the picture. It looks better to have the 2 pegs facing each other over the bottom two pegs facing each other. However, it really makes no difference.
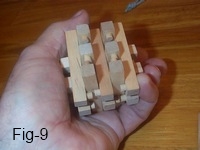 It is safe now, and necessary to pick the puzzle up. (Fig-9) Carefully pick it up and hold it.
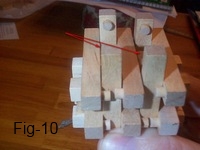 You must hold it in such a way that you can push the middle two pieces down flush with the lower layer. (Fig-10)
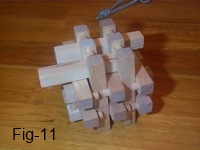 Push the two middle pieces down flush, then on the side that has just one peg facing in, slide a piece under the pegs. Then raise the two center pieces back up, and insert the last key piece. (Fig-11)
There you have it. These are fun making and fun playing with. It will REALLY give the brain a workout putting these together.
