
Jim's Woodworking Shop
Remote Control Power Boat
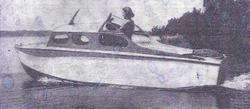
Armed with the works of an old remote control airplane, and the unproven plans for an 18 foot power boat I decided to build an 18 inch model to run on a local pond.
The building of it is documented here
The first thing to do was to learn how to scale the plans. It was easy, once I learned how. The plans are measured in inches, so if I take the inches and divide by 12, that gives me a 1/12 model. Thus, if the plan says 30 inches, divide that by 12 and we get 2.5 inches.
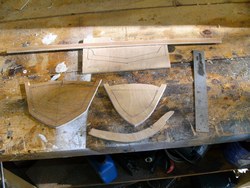
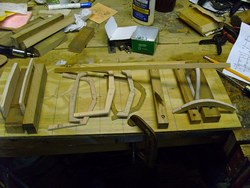
The frames are made out of 3/16 plywood. Picture "1" below shows the Stem, and some of the Frames layed out on the wood. I started putting it on a piece of paper and tracing it onto wood, but, decided it was far easier to lay it out right on the wood. Picture "2" shows all the frames cut out and laying on the fixture. I needed a way to hold the frames in the right position, so I layed out a board with marks showing the positions, and cut blocks that will be screwed down to support the frames.
 |
 |
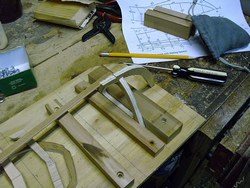 |
| Stem and Frames | Fixture with Frames | Stem and first Frame |
Below left is the fixture holding the frames in place. The notches for most of the stringers are in place. There are notches for the bottom stringers that remain to be cut. Notice in #3 how I used 2 clamps to hold the Stem in place. Other clamps squeeze the Frame alignment pieces to hold the Frames in proper location.
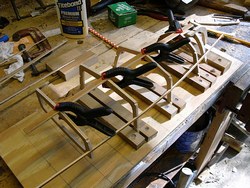 |
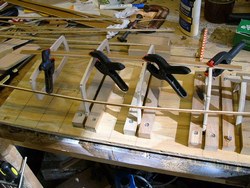 |
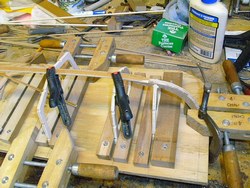 |
| Fixture and Frames | Frames with stringer | Glueing Frames 1 and 2 to the Keel. |
All the notches have been cut, (I hope I've not missed anything) and the glueup has begun.
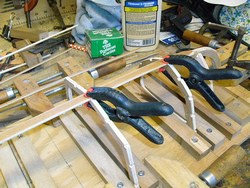 |
 |
 |
| Glueup picture 2 | More Frames added | Another View |
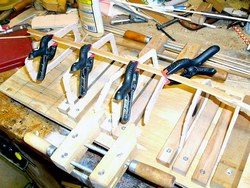
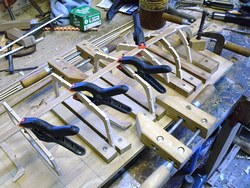
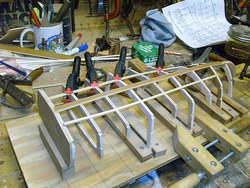
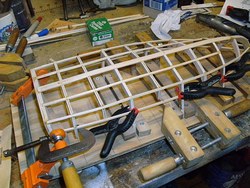
Below left, one of the short stringers is glued. The one nearest is just set in the slots to keep pressure even on the frames. Problem, notice the keel has a brown color. I didn't know, but that is a plastic coating that glue doesn't want to stick to. I had to remove the keel and sand the coating off. The stringers I had in place along with the fixture held things in alignment. All the frame joints came loose easily. The only tough joint was where the keel and stem were joined. That I had to use some muscle on. The wood I used came from a bamboo blind, I never thought about it being coated. Once it's sanded, it holds good.
 |
 |
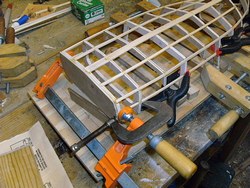 |
| Frames and Transom glued. | More stringers added. | Transom view. |
 |
 |
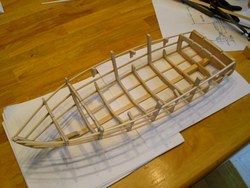 |
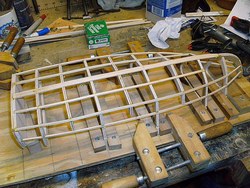
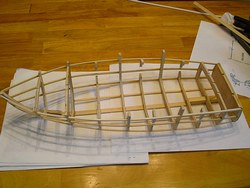
| All lower stringers in place. | All Stringers in place | Another view |
It's starting to look like a boat. Notice in the lower left picture the Keel is bare wood. I removed it and sanded the coating off.
Then I took the Hull out of the fixture to put the top stringers in place.
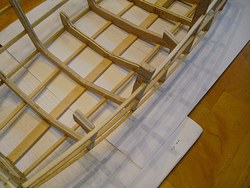
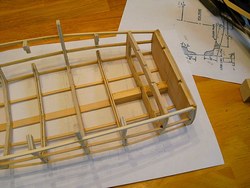
Once all the Stringers and Frames are glued, I will have to fair the Frames, Keel and Stem so the hull covering will lay flat. What to cover the hull with is on the list of things to find. I can try and find some 1/16 plywood, or I can cut real thin wood strips and plank it just like a real boat.There are 3 frames that are partial frames on the sides. I'm not understanding why. Maybe when I get farther along a reason will become apparent.
 |
 |
|
| Partial Frame tops | Keel Blocks |
I have the Hull pretty well faired, and found some thin plywood from a drawer bottom. It won't bend like I would like as a sheet, so I'm cutting it into 3/8 strips and will use them to plank the hull. Here's hoping.....
With the Hull coming along, I have been trying to find information on what angle the prop shaft should be when it goes through the hull, and what size prop to use. One article I saw said that the prop should be one MM (.039) for each inch of length. That would be 18 MM, which works out to be about 3/4 inch, which looks pretty small. Another article said there is no set rule, it depends on the motor, hull and weight. So, I think I will go with a 1 1/8 inch prop and see what happens. I'm still trying to determine the angle for the shaft. I asked a question on an online forum, (RCUniverse.com) and the advice is place the engine as far forward as practical and and the prop with about 3/16 inch clearance from the hull. The angle on a cruising boat isn't critical, like a racing boat. That means a long shaft.
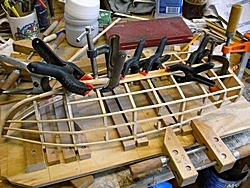
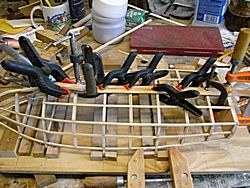
The Planking has begun...
 |
 |
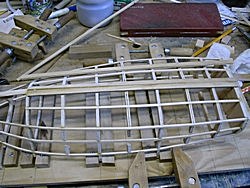 |
| Planking. Many Clamps. | Another View | Clamps removed |
Any gaps between planks will be filled with wood putty, (Fine sawdust mixed with glue), and then the whole shebang will get a good sanding.
While the glue was drying on planks, I cobbled together a Prop from a piece of 1/16 aluminum plate. It is 1 3/8 in diameter, with a 1/8 hole right now.
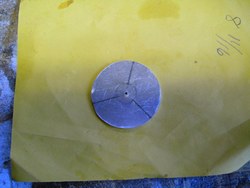 |
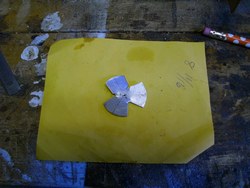 |
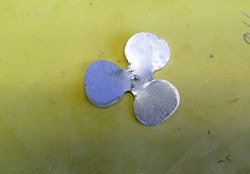 |
| Prop layed out. | Roughed out. | Looking like a Prop. |
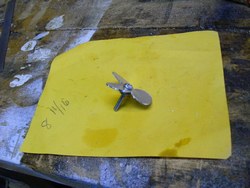 | ||
| Prop just needs sharpened and need to find a shaft. |
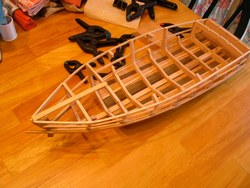
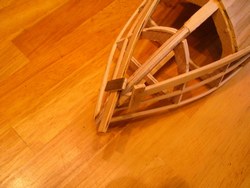
When I started planking the sides, it became very hard to hold the planks onto the stem. The shape of the bow leaves nothing to clamp to. I have glued some blocks to the ends of the planks. I hope it won't be too much trouble to chisel them off and sand it smooth when I don't need them any more.
Minor setback. The plywood I'm using for the bottom planking has bad glue in one of the laminents. When I try and make a bend with it, it comes unglued. So, I've decided where there are sharp bends, I'll use solid wood strips. It bends a lot easier and no laminents to come loose. Other than that and a bunch of cold weather where I can't glue stuff in my semi-unheated shop, things are moving along slowly.
 |
 |
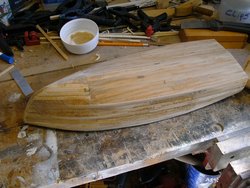 |
| Planking up the sides. | Clamping blocks on bow. | The hull planking is done. |
With the planking finished, I'm sanding the hull to try and get some of the imperfections out. If I had been more careful making the planks even, I'd saved myself a lot of work.
Next will be locating stuff to make motor mounts, the prop shaft, the rudder post and through-hull fittings to hold them. There is still an awful lot to do.