Jim's Woodworking Shop
Display Cases
Click on pix for a larger view
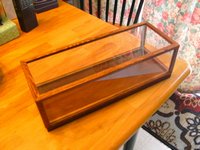
 A friend of mine asked me if I could build a display case for a model truck he had put together. I'd never done anything like that, but, told him I'd give it a try.
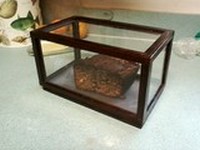
The picture on the right is a small case used to store Banana Nut Bread. They are all made basicly the same way.
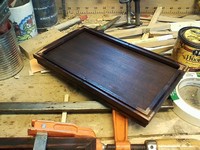
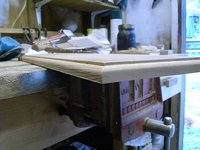 To the left is the base. It's just a flat board with the edge routed with a roundobver bit set low enough to leave a small 1/8" lip. It can be made out of almost any wood. I used some soft wood that maybe is pine.
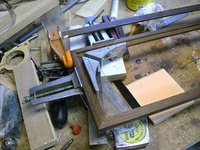 On the right is the bottom frame being glued. The corners are 45 degrees. It is made a size so the flange fits over the 1/8" lip on the base. The other side has a 1/8 groove routed to receive the plastic sheet. It's dimensions are 5/8 x 1/2". The length is whatever needed. I discovered it is easier to stain and finish the pieces before assembly, and just touchup the bare spots after assembly. I used small pieces of masking tape to prevent getting stuff where it doesn't belong.
 On left is a view of the bottom frame laying on the base. The groove for the plastic is about 1/8" in from the edge and 1/8" deep. I have a router bit that has a radius on it, so there is not a sharp corner at the bottom of the groove. Maybe it's a bit stronger like that. The edges of the plastic is also rounded.
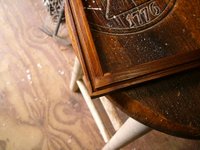 On the right is detail of the corner. You may notice the chip out of the corner.....Woops!!
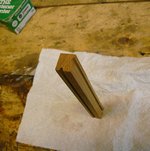 Left is a detail of the grooves in the top and end rails and the corner uprights. The bottom rails and ends get only one groove.
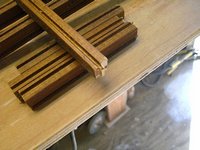 Right is a picture of the ends of the corner uprights. The tongue is made to fit into the grooves in the top and bottom rails. Each end is done the same on the Router Table. The edges of the tongues are broken with sandpaper so they fit down into the grooves.
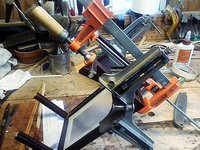 On the left is the method I used to glue the corner uprights. A right angle clamp holds it square, and the bar clamp seats it into the groove. I had a piece of grooved cutoff that keeps the clamp from mashing the tongue.
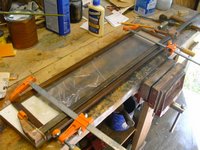 On the right is the method I used to glue the top frame. The clear plastic sheet can't be installed when the frame is completely assembled, so, I assembled one end and one side, and the other end and side to match. Cut the plastic to size, sand and round the edges and make sure it fits. It might take a while to get it just right. The sheet comes with protective plastic, and it is best to leave that on there until assembly is done. I use a box cutter to carefully trim about 3/8 of it off the edge. You can pull it loose just enough to do this without marring the plastic and it will go back into place quite well. After it's installed and the glue has set, put masking tape along the edges of the plastic sheet to keep from getting finish on it when you do the touchup.
The uprights can be put onto the top frame, or the bottom. I opted to put them on the top. When they are glued and dried, it is time to install the end and side pieces of plastic. They want to slide in easily, but not loose. When all is well, glue it together, and then do final touchups. Take the protective plastic off and the tape.
Hindsight notes:
It might be better to make the case and then fit the base to it. Sometimes measuring where the flange needs to be can be tricky, (at least for me).
