
Jim's Woodworking Shop
Latest Project
Stagecoach
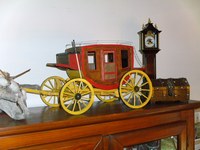
Last year I started building a model Stagecoach from scratch.
I never knew that a Stage had so many parts. They are quite the work of art.
The first thing to do is find out just how a stagecoach is constructed. I went online and found many drawings and pictures. It seems there are many models of stagecoaches, so, I integrated them into one plan I felt wouldn't be too difficult to construct.
The first object, to manufacture the wheels.
I had some experience making wheels, so after a couple false starts, I came up with a plan for the wheels.
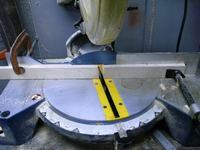
There are 12 spokes in each wheel, so that works out for each section to have a 15 Deg. angle.
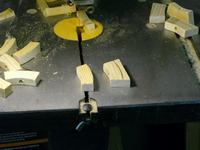
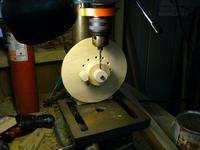
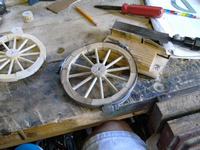
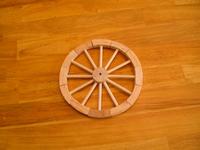
The progress of the wheels is shown below. It took some thought to decide how to drill holes for the spokes, and I finally decided I needed a fixture. It worked fairly well.
Wheels
|
|
|
| Angle set at 15 Deg. | Cutting Segments | Drilling Hub spoke holes |
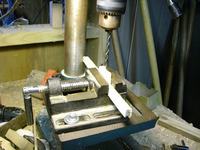
|
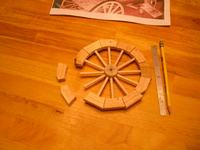
|
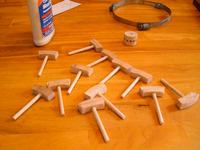
|
| Drilling Spoke Holes | Dry Fit | Initial Glueup |
|
|
|
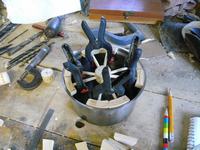
| Front Wheel Glueup | Rear Wheel Glueup | Rough Wheel |
|
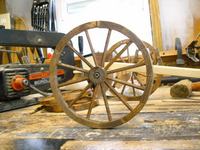
Finished Wheel |
I discovered one of Gracie's dog bowls was just about the right size for 2 of the wheels. The others I used 3 long hose clamps end to end. It worked well. It took some adjustment to get the spokes just the right length so everything fit right. But, after a couple false starts, the wheels were done.
Chassis
The next item was the chassis to hold the wheels. Again, I looked at the way several coaches were designed and finally settled on one that didn't look too hard to copy.
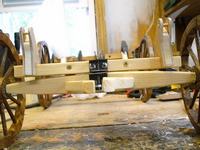
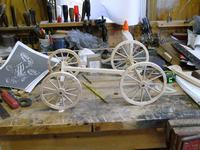
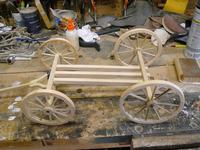
The front axle is held onto the main chassis by a pin. The joint pivots on a sub axle that has a small amount of crown to it.
|
|
|
| Front Axle Detail |
Chassis Glue up | Chassis |
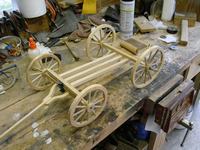
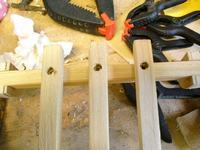
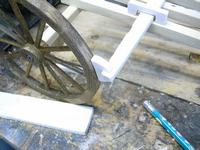
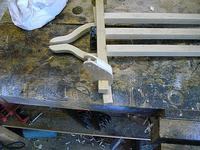
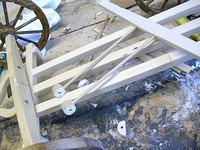
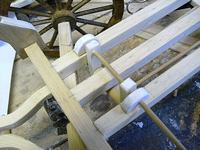
Below are pictures of the brake bar and shoes. On a real coach, there are two metal rods that connect to the brake lever. I decided to use some wood rods I just happened to have.
|
|
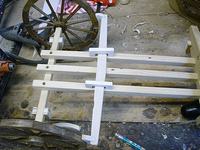
|
| Chassis |
Chassis detail | Brake Bar |
|
|

|
| Brake Shoe |
Strap Fitting(4 ea) | Strap on Fitting |
|
|
|
| Brake Rods |
Brake Mechanics | Brake Levers |
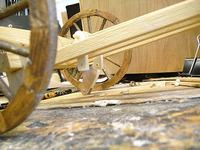
I discovered the coach is slung on what looks to be leather straps. (Strap fittings and strap on fitting) pictures. There is a fitting fore and aft on each side and the strap is fastened between them. There appears to be 3 or 4 layers of straps. Sort of like a big leaf spring only made out of leather. There are 2 fittings on each side of the underside of the coach, that slip over the leather straps. It must have been a strange ride compared with what we're used to with our modern autos.
Coach
The design of the coach took the same path as the frame. I compared several plans and chose the one that looked best to copy. I made a drawing, and transfered it to cardboard. Then cut out 2 sides from some 3/32 plywood.
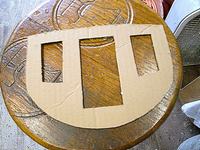
Next I decided how wide to make the coach, and cut a framework from 1/4 pine to join the two sides.
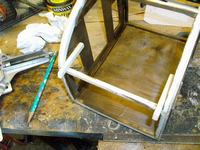
Some of the framework can be seen in the picture of the Baggage Braces. You can see how the side patterns were edged with 1/4 wood frame, with stringers running from each side to set the width of the coach. I traced the curve of the side panels onto the 1/4 stock and cut them out on the bandsaw and the scrollsaw. The roof panel has a small amount of curve on the sides, and is also curved on the roof slightly.
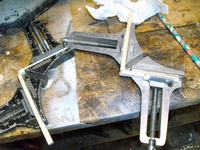
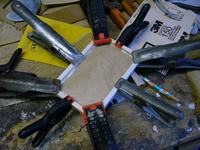
The baggage rack is made so it can be folded up. (I haven't a clue why) and is held with a chain on each side, and wall made of a piece of leather on each side.
|
|
|
| Baggage Frame | Baggage Holder Glueup | |
The Doors and Trim.
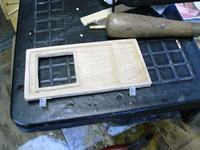
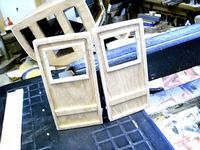
The doors were made from a tracing of the door opening on a piece of the thin plywood held up on the outside of the coach and a pencil going in the opposite door. The window opening was drawn, and cut out on the scroll saw.
|
|
|
| Doors with Hinges | Finished Doors | |
Put it all together
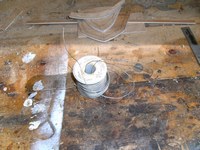
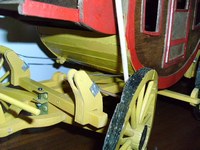
The straps I wanted to use were just black fabric, and I discovered when I tried to install them that they weren't strong enough. On to plan "B". Actually, I had no plan "B". Just that if the fabric didn't work, I'd have to find something else. The something else turned out to be a roll of stainless wire I'd had forever. (Picture "1"). I cut 2 lengths for each side, and it worked very well. (Picture "2".
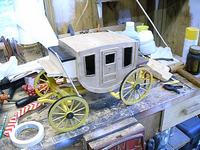
Picture "3" is the coach with the trim on the sides. It is the same material as I used for the walls of the coach. When it is painted Red and the walls stained Early American, there is a pleasing contrast. A Little can be seen in picture "2".
 |
 |
 |
Once the trim was installed, I set about making the wire luggage rails that are on top of the coach. The first attempt looked out of proportion. It was too large. So, I went with just a very simple rail. My first soldering attempt looked bad also. I was taking the two wire pieces and just sticking them close together with solder holding them. It worked far better to make a small loop on the end of the wire, and hooking it onto the joining piece. After the rail was complete, I carefully marked the mounting places on the roof and drilled small holes. I was careful that the holes were located over the inner framework, and that I didn't drill through. The holes are about 1/4" deep.
That completed the coach. Pictures "1" below.
 |